
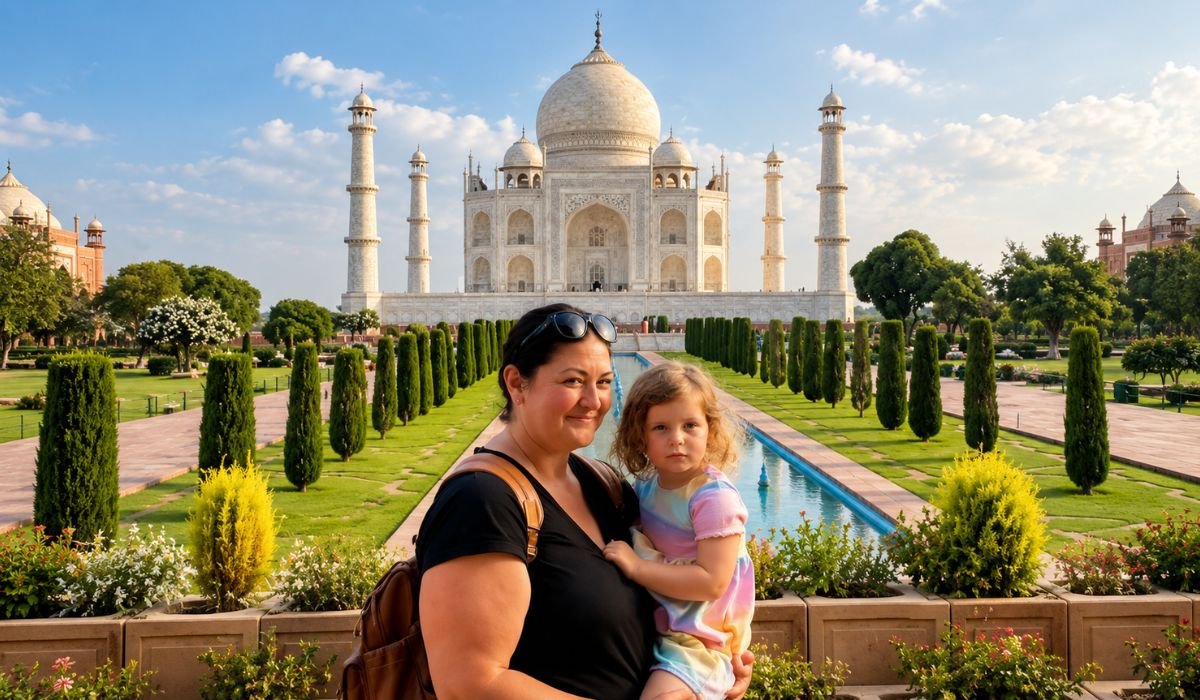
The Taj Mahal is one of the world’s most photographed monuments, but capturing it beautifully takes more than pointing a camera at its white marble dome. Changing light, crowded walkways, bright marble and visitor restrictions can all affect your photographs.
This Taj Mahal photography guide covers the best photography spots, sunrise and sunset tips, camera settings, smartphone techniques, photography rules and practical planning advice. Whether you are visiting with a DSLR or a mobile phone, you can use these tips to capture the monument from different perspectives.
If you are planning a dedicated photography visit, explore our Taj Mahal tour options to organize your sightseeing around the best available photography opportunities.
How to Take Better Photos at the Taj Mahal
Arrive early, prioritise your main shots and keep your equipment simple. Use the central walkway for symmetrical compositions, architectural arches for natural framing and garden paths to create depth.
The white marble can lose detail in bright sunlight. Check your exposure as the light changes, and reduce brightness slightly when the dome appears too white in your photographs.
Best Taj Mahal Photography Spots
1. The Great Gate: Frame the Taj Mahal
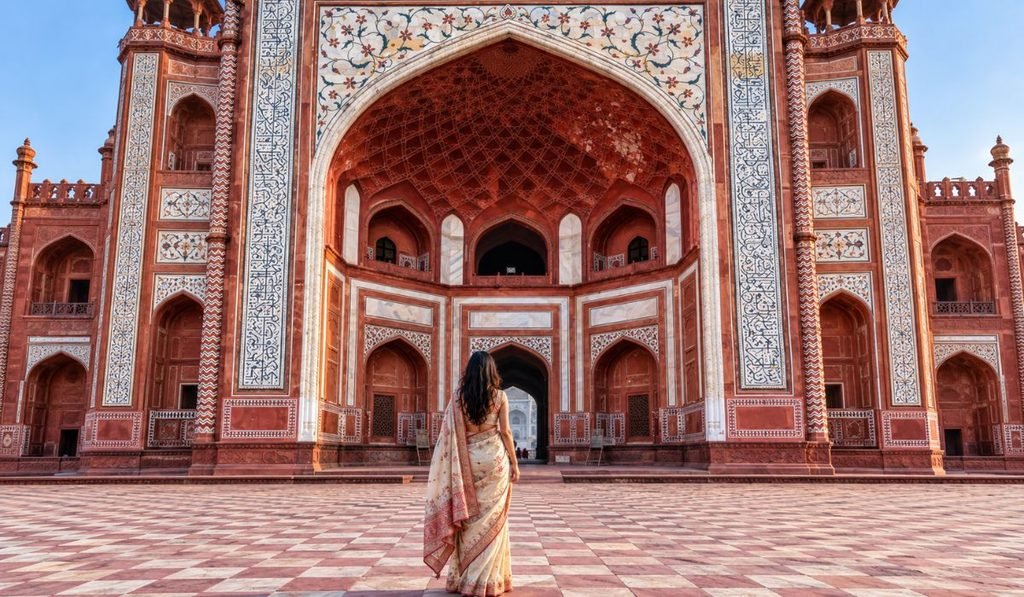
The Great Gate, known as Darwaza-i-Rauza, creates a striking frame around the Taj Mahal. The contrast between the red sandstone arch and the white marble monument adds depth to your photograph.
Position the monument within the arch, keep the vertical lines straight and experiment with both wide and tighter compositions.
Photography tip: Include part of the arch in the foreground instead of photographing only the dome. This creates a stronger sense of scale and perspective.
Talk to Our Experts for a Customised Itinerary
Planning a visit to the Taj Mahal? Share your travel dates, interests, budget and preferred travel style with our experts. We will help you plan a personalised Taj Mahal experience tailored to your schedule and preferences.
2. The Central Reflecting Pool
The central water channel offers the classic symmetrical view of the Taj Mahal. Align your camera with the monument’s central axis and include the water when it provides a clear reflection.
This viewpoint can become crowded, particularly during popular visiting hours, so be prepared to adjust your composition.
Photography tip: Keep your camera level and try a slightly different angle if visitors interrupt the symmetry. Do not depend on finding an entirely empty walkway.
3. Garden Paths and Side Viewpoints
The garden paths, cypress trees and surrounding architecture provide alternatives to the main viewpoint. Their lines can guide the viewer’s eye towards the monument and make your photographs feel more dimensional.
The mosque and the Jawab, the two red sandstone structures beside the Taj Mahal, also offer opportunities to photograph the monument within an architectural setting.
Photography tip: Look for leading lines along the paths and check the background before taking the shot. A small change in position can help reduce distracting elements.
4. Marble Details and Decorative Inlay
The Taj Mahal is worth photographing beyond its famous dome. Look for floral pietra dura inlay, carved marble screens, calligraphy and decorative details that reveal the craftsmanship of the monument.
Use optical zoom when available to capture these details without getting too close to restricted areas.
Photography tip: Take a wide photograph first, then capture close-up architectural details. Photography is prohibited inside the main mausoleum chamber containing the cenotaphs, so follow signs and staff instructions.
5. Mehtab Bagh: A Different View Across the Yamuna
Mehtab Bagh lies across the Yamuna River and provides a different perspective of the Taj Mahal. Its wider viewpoint can work well for panoramic compositions and late-afternoon photography.
Unlike the main Taj Mahal complex, Mehtab Bagh requires separate entry arrangements and travel to the opposite riverbank. Check its current opening hours and ticket information before visiting.
Photography tip: Allow extra travel time and plan this as a separate stop if you want to photograph the Taj Mahal near sunset.
Best Time for Taj Mahal Photography
Sunrise Photography
Sunrise is a popular time for photography inside the Taj Mahal complex because the changing light can create softer tones and interesting shadows. The marble may appear cooler before dawn and warmer as daylight develops.
Arrive early enough to account for security checks and entry queues. The actual conditions depend on the weather, season and visibility on the day so choose the best season for Taj Mahal tour.
Tip: Decide which photographs you want most before entering so you can prioritise the main viewpoint and other locations efficiently.
Morning and Midday Light
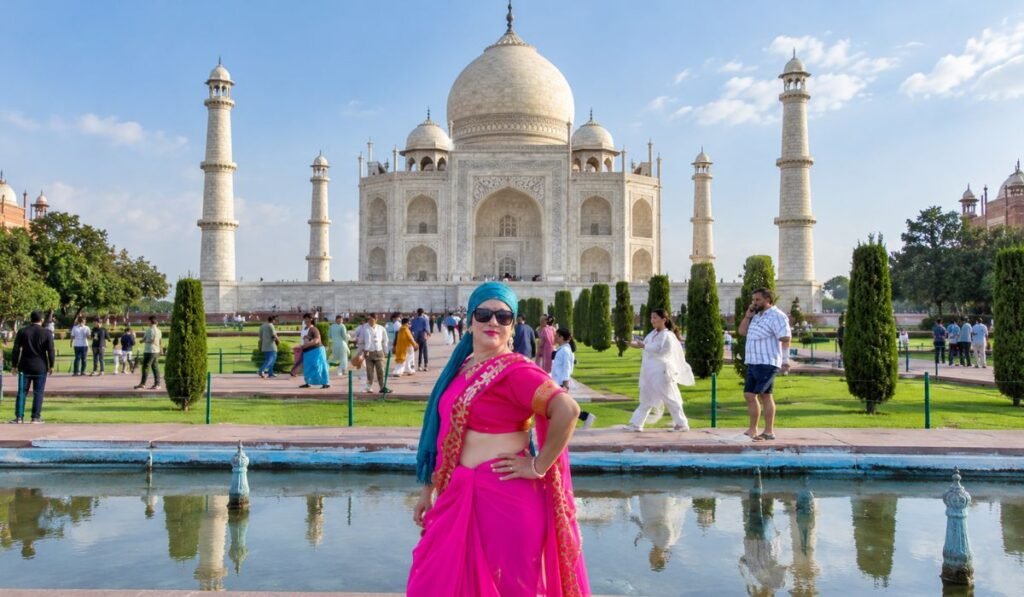
As the sun rises higher, shadows become shorter and the contrast on the marble can increase. Bright surfaces may lose detail if your exposure is too high.
Check your photographs regularly and adjust exposure when necessary. If the light becomes harsh, focus on architectural details, shaded areas and compositions that use contrast creatively.
Sunset Photography
For sunset photography, consider Mehtab Bagh rather than assuming the main complex will remain open until sunset. The view across the Yamuna provides a different perspective and may offer opportunities to photograph changing evening light.
Access, opening hours and weather conditions can affect your plans, so confirm the arrangements before travelling.
Seasonal Photography Tips
- October to November and February to March: These months can offer comfortable sightseeing conditions, although visibility varies with the weather.
- December to January: Morning fog and haze can obscure the monument. If visibility is poor, consider a later visit rather than relying on sunrise photography.
- April to June: Strong sunlight and heat can make photography uncomfortable. Protect yourself from the heat and check images for overexposed marble.
- July to September: Monsoon clouds and greener gardens can add atmosphere, but rain and humidity may affect your photography plans.
No season guarantees clear skies or perfect lighting. Check the forecast close to your visit and keep an alternative plan.
Talk to Our Experts for a Customised Itinerary
Planning a visit to the Taj Mahal? Share your travel dates, interests, budget and preferred travel style with our experts. We will help you plan a personalised Taj Mahal experience tailored to your schedule and preferences.
Camera Settings and Smartphone Photography Tips
DSLR and Mirrorless Camera Settings
The following settings are useful starting points for architectural photography. Adjust them according to the light and the result you want.
- Aperture: Start around f/8 for detailed architectural scenes with substantial depth.
- ISO: Use ISO 100 in bright daylight where possible. Increase it when lower light requires a faster shutter speed.
- Shutter speed: Choose a sufficiently fast shutter speed to minimise camera shake when shooting handheld.
- Exposure compensation: In bright conditions, try a small negative adjustment, such as −0.7 EV, if the marble is overexposed. Review the result rather than relying on one fixed setting.
- White balance: Daylight or auto white balance is a practical starting point. RAW files offer more flexibility when editing colour later.
- File format: RAW is useful if you plan to edit your images; JPEG is convenient for photographs you want to share quickly.
Tripods and other restricted accessories should not be packed without checking the current visitor rules. Plan to shoot handheld unless you have explicit authorisation for other equipment.
Smartphone Photography
A smartphone can capture excellent photographs of the Taj Mahal without specialist equipment. Turn on the grid, keep the phone level and tap the monument to focus before adjusting brightness if the marble looks too white.
Use your phone’s built-in optical lenses where available, and avoid excessive digital zoom. Clean the lens before shooting and try both wide compositions and tighter architectural details.
Quick tip: If the central viewpoint is crowded, change your framing or photograph the architecture from another permitted viewpoint rather than waiting indefinitely for an empty scene.
Three Composition Techniques to Try
Symmetry: Centre the dome and align the walkway or water channel with the middle of the frame.
Leading lines: Use garden paths, hedges and stone borders to guide the viewer’s eye towards the monument.
Natural framing: Photograph through the Great Gate or other permitted architectural viewpoints to add depth and contrast.
Experiment with more than one composition at each location. A different angle can make a familiar view more personal and distinctive.
Taj Mahal Photo Poses for Couples, Families and Solo Travellers
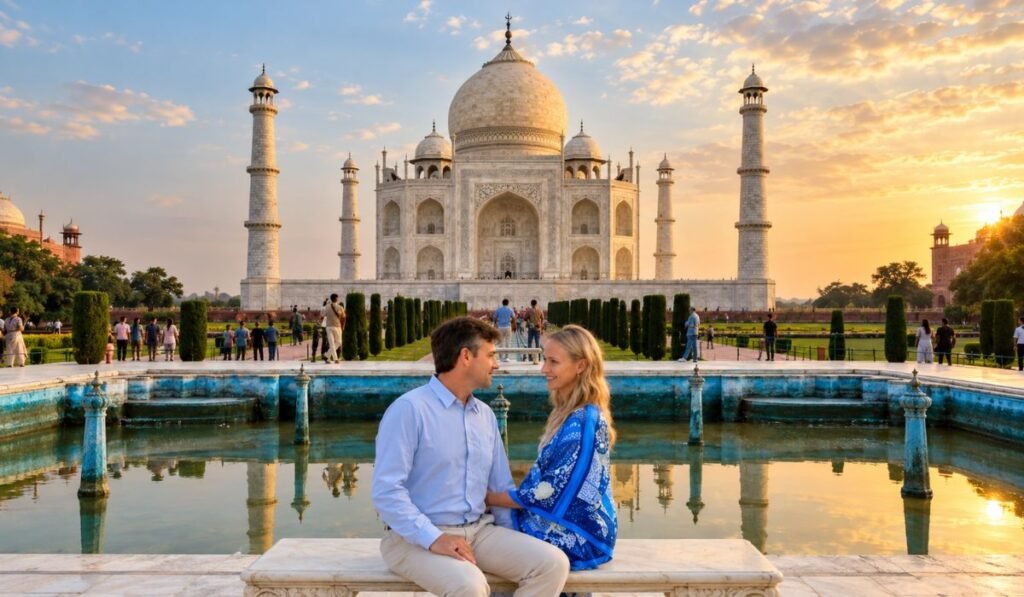
For couple photographs, try walking naturally, holding hands or looking towards the monument rather than relying entirely on posed portraits. Families can combine group photographs with candid moments, while solo travellers can use the architecture to show the scale of the monument.
Colours such as blue, red and green can contrast with the white marble, depending on the lighting and your personal style. Choose comfortable clothing and follow all instructions about access and footwear on marble platforms.
Photography tip: Keep poses simple, avoid blocking narrow walkways and be considerate of other visitors trying to take photographs.
Taj Mahal Photography Rules, Timings and Tickets
The Taj Mahal generally opens 30 minutes before sunrise and closes 30 minutes before sunset. It is closed to general visitors on Fridays, so confirm the latest visiting arrangements before finalising your itinerary.
Photography is prohibited inside the main mausoleum chamber. The visitor rules also restrict equipment such as tripods and drones, along with other listed items. Check the latest official prohibited-items guidance before packing your camera accessories.
Taj Mahal Entry Ticket Prices
The verified ticket figures supplied for this guide are:
- Foreign visitors: ₹1,300, including the stated ₹200 mausoleum surcharge.
- SAARC and BIMSTEC visitors: ₹740, including the stated surcharge.
- Indian citizens: ₹250, including the stated surcharge.
- Children under 15: Free, subject to the applicable entry conditions.
These figures should be checked against the official ticketing portal before before travel, as fees and entry arrangements can change or if you want to know more abouth tickets of Taj Mahal then go and read guide on Taj Mahal Tickets Guide.
Ticket Validity and Entry Gates
The supplied verification states that tickets are valid for three hours from the entry barcode scan. Visitors should plan their time accordingly and confirm the current terms to avoid unexpected charges.
The East and West Gates are used for entry, while the South Gate is exit-only according to the supplied visitor information. Confirm the latest gate arrangements before choosing your route.
Photography Equipment Restrictions
Handheld cameras and smartphones are suitable choices for a standard visitor photography session. The supplied security checklist identifies tripods, monopods, selfie sticks, drones, gimbals, external lighting, microphones and certain power accessories as restricted or prohibited.
Because security requirements can change, consult the current official visitor guidance rather than relying solely on a third-party packing list. Leave items that are not permitted at your accommodation where possible.
For official information, check the Taj Mahal website, its ticketing information and the published visitor dos and don’ts.
How to Plan a Private Photography Session
Before booking, confirm the meeting point, session duration, number of edited photographs, delivery timeline and total price. Ask to see recent work and verify that the photographer will follow the monument’s equipment restrictions.
If you need experience planers for Agra’s attractions, you can also can you ask an expert for planning your wider journey.
Sample Taj Mahal Sunrise Photography Itinerary
Use this flexible plan to prioritise your photographs while allowing time for security checks, walking and changing crowd conditions.
- Before opening: Arrive with your ticket and allow extra time for security screening.
- First stop: Photograph the Great Gate and its natural frame.
- Next: Move towards the central reflecting pool for the classic symmetrical composition.
- Afterward: Explore garden paths and permitted side viewpoints for different angles.
- Final photography stops: Capture exterior architectural details, decorative inlay and portraits where permitted.
- Separate sunset option: Visit Mehtab Bagh if you want a different viewpoint across the Yamuna.
The sequence may need to change depending on entry queues, crowd levels, weather and access conditions. Check your ticket’s validity terms and leave enough time to exit.
FAQs : Taj Mahal Photography Guide
1. What is the best time to photograph the Taj Mahal?
Sunrise is a popular choice for changing light and potentially fewer crowds. The best conditions depend on weather, visibility and the season, so check the forecast before your visit.
2. Where are the best Taj Mahal photography spots?
The Great Gate, central reflecting pool, garden paths and exterior marble details offer different compositions. Mehtab Bagh provides a separate viewpoint across the Yamuna River.
3. Can I use a tripod at the Taj Mahal?
The supplied official-rule checklist identifies tripods as prohibited items for general visitors. Check the latest visitor guidance before travelling and plan to shoot handheld.
4. Is photography allowed inside the Taj Mahal?
Photography is prohibited inside the main mausoleum chamber containing the cenotaphs. Follow signs and security staff instructions about where photography is permitted.
5. Can I take good Taj Mahal photographs with a smartphone?
Yes. Use the grid, keep your phone level, adjust exposure to preserve marble detail and use optical zoom when available. Good composition matters more than owning expensive equipment.
6. Is Mehtab Bagh included in the Taj Mahal ticket?
No. Mehtab Bagh is a separate attraction with its own entry arrangements. Check its current ticket price, opening hours and access details before visiting.
7. How much does a Taj Mahal photography session cost?
Prices vary according to the photographer, duration, transport and edited-image package. Request a current quotation and confirm exactly what is included before booking.
8. What should I bring for Taj Mahal photography?
Bring your permitted camera or smartphone, a fully charged device and any accessories allowed under the current rules. Check the official prohibited-items list before leaving your hotel.
Final Thoughts on Taj Mahal Photography Guide
Great Taj Mahal photography is about preparation, composition and adapting to the conditions rather than relying on a single perfect viewpoint. Start with the Great Gate and central reflecting pool, explore the garden and architectural details, and consider Mehtab Bagh for a different perspective.
Check the latest ticketing and security information before travelling, allow extra time for entry and choose equipment that complies with the visitor rules. With a flexible plan, you can capture a range of photographs while enjoying the monument at your own pace.


